I love good vintage finds, and I have a major weakness for vintage jewellery and natural stones. Vintage jewellery is so unique, and I love the history each piece carries with it. There’s also something I find so satisfying about knowing that no one else will have the same accessories as I do. Usually, the jewellery I receive the most compliments on is the stuff I’ve put together myself, so I thought it would be fun to show you how I made two bohemian necklaces recently. All of the main pieces came from a small flea market in Creston, BC — and the whole project cost me less than $15.00!
How to treasure hunt for jewellery at a flea market
I’ve always loved hunting for vintage treasures, and over the years I’ve figured out what to look for. Here are my general guidelines for jewellery:
1) Look for standout pieces.
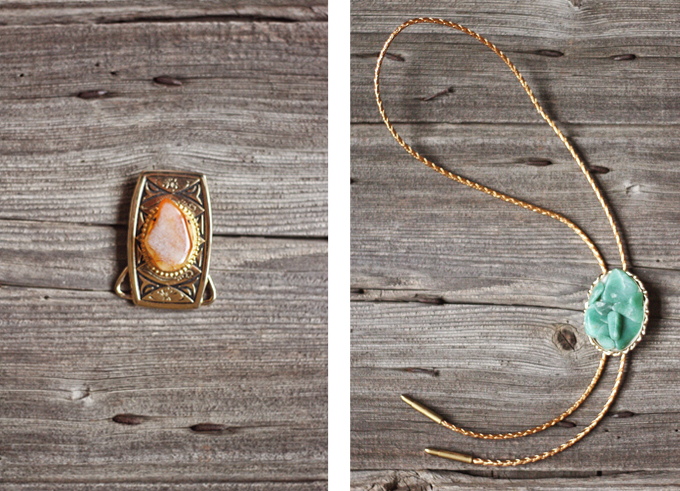
When I’m flea market shopping, I’m looking for really unique pieces. I love bold statement jewellery, and bohemian 60’s and 70’s styles, so I’m drawn to those types of pieces. Look for jewellery with great ‘bones’ that you can incorporate into your own personal style. For this project, I found a turquoise pendant attached to a lanyard ($1.00) and a western-style belt buckle with a large stone ($3.00).
Tip: I find the best stuff on the road, stopping into small towns — usually they’re full of local treasures and not as picked over as thrift stores or markets in cities.
2) Hunt for bargain basics.
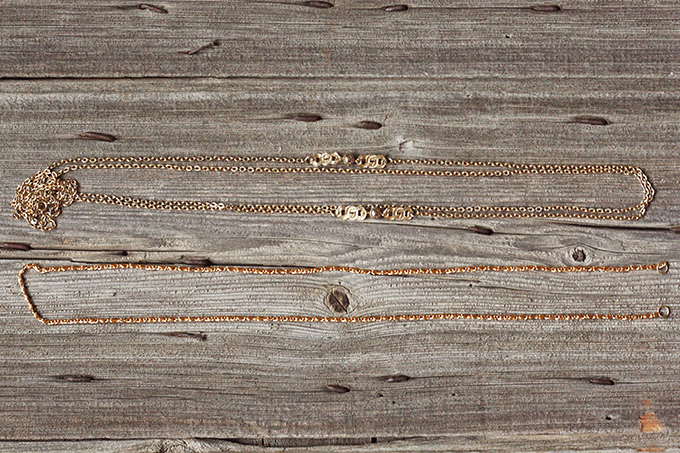
I also like to look for necklace chains and other pieces I can use as ‘scraps’. Usually, you can bargain to get these for free (or cheap!) if you’re purchasing other items. I found both necklace chains used in this project for $3.00 at the same flea market.
3) Be imaginative.
Just because a beautiful turquoise pendant comes in the form of a lanyard doesn’t mean you can’t turn it into something totally different. If you’re drawn to a piece, grab it. Then, figure out how to best use re-purpose your finds into jewellery you’ll actually wear.
4) Look for solid construction, or realistic repairs.
If your piece is missing stones or hardware, will you be able to fix it? Usually I can fix jewellery myself (and am willing to invest time in a piece if I really love it), but sometimes I enlist the help of a jeweler. Ask yourself if you can realistically complete the repairs yourself, or are willing to pay a professional to help. If not, let it go.
Figure out what you want to make
When I spotted this belt buckle in the market, I knew immediately I wanted to make a long, pendant-style necklace out of it. And, I wanted to do the same with the turquoise stone pendant, except keep a lanyard-style vibe to it by attaching it to a chain and then opening the chain at the bottom. If it helps, sketch your ideas. Then, source the other materials you’ll need to complete your project.
What you’ll need
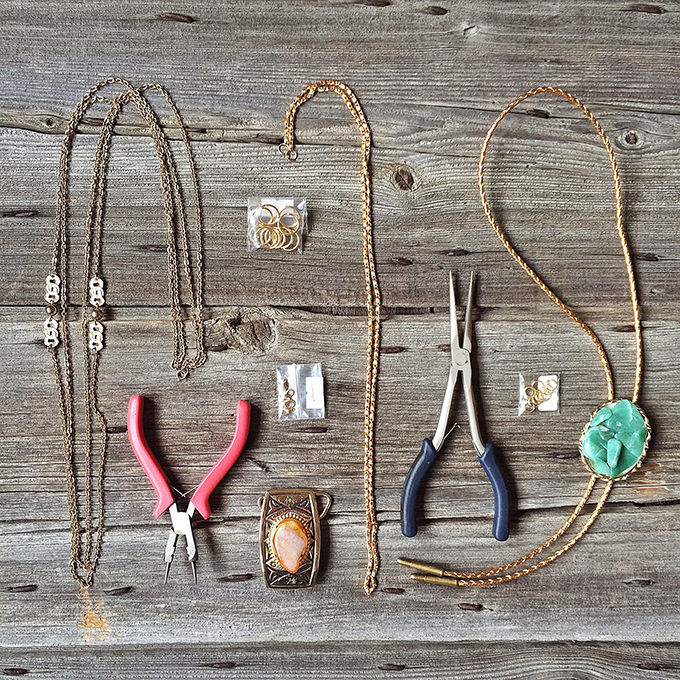
• Your flea market finds
• 99% alcohol (I fill a spray bottle and spray the jewellery to sanitize everything)
• Needle nose pliers
• Whatever hardware is necessary to make your new piece (I needed O rings and clasps)
Note: In Calgary, Beadworks (in Kensington) is a great place to find jewellery supplies! All of my additonal hardware cost $6.00, and I’ll have enough to repair many more pieces.
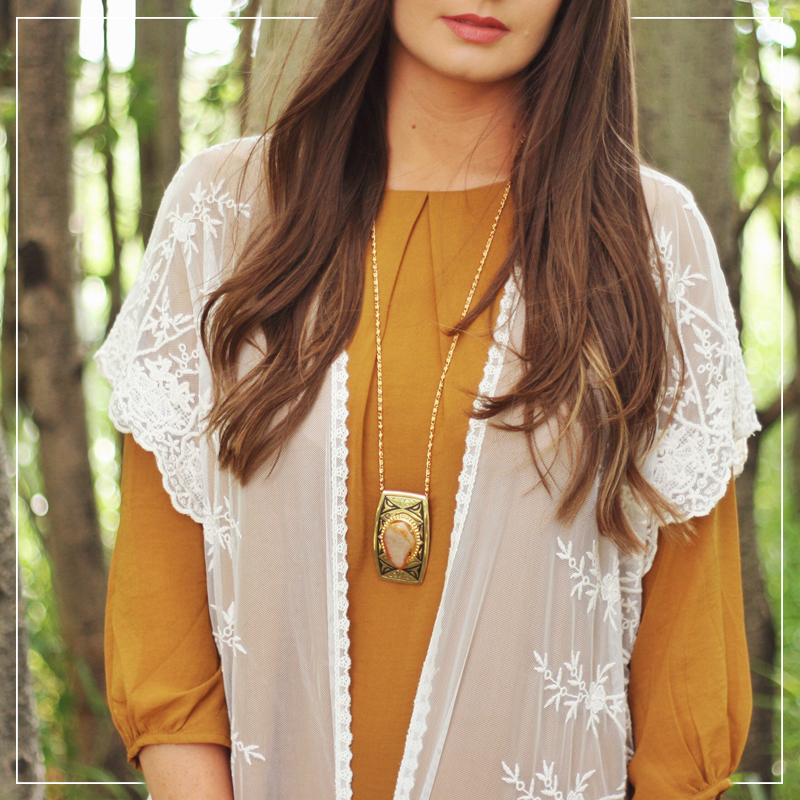
WESTERN PENDANT NECKLACE
In it’s previous life, this was a belt buckle. So, the first thing I needed to do was remove the hardware from the back where it would have attached to a belt.
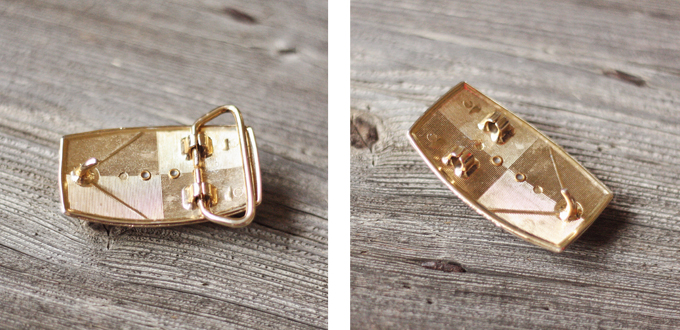
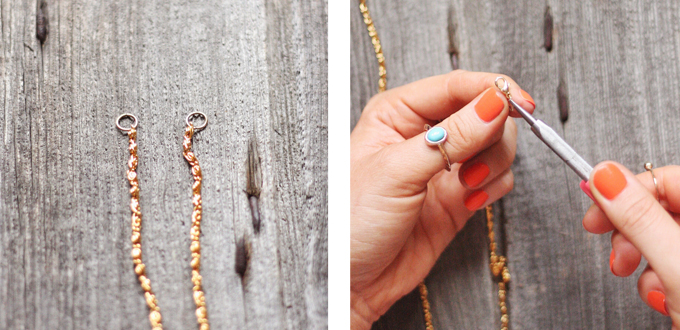
My chain my missing a closure clasp. So, I opened the existing O ring and added a new one.
Then, I threaded the necklace chain through the rings where the original belt hardware was.
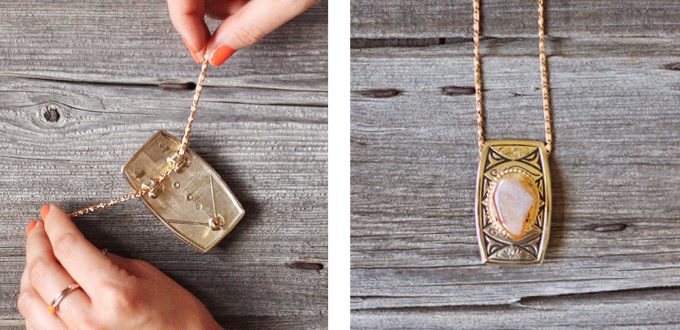
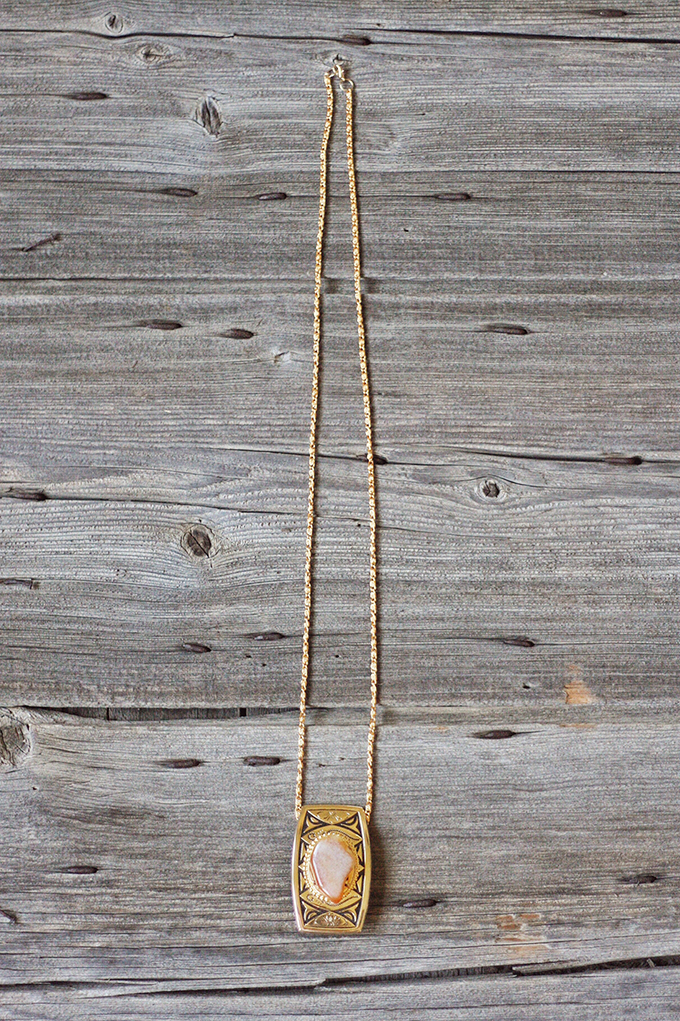
Volia! A custom necklace is born.
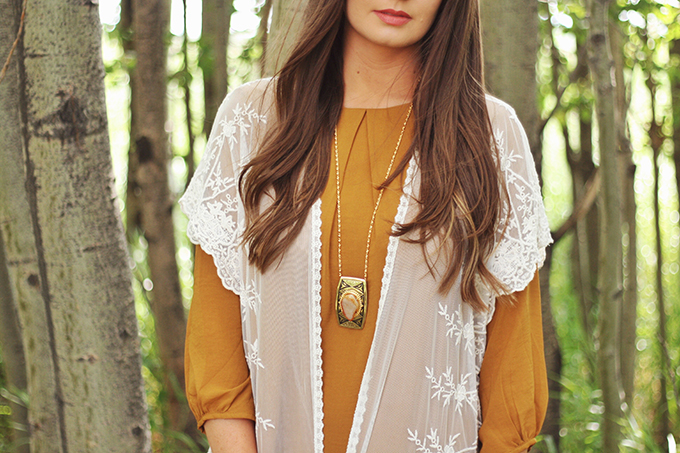
Similar kimono | Similar shift dress | Foundation (shade 105) | Lipgloss
TURQUOISE LANYARD NECKLACE
First, I opened the clamps on the back of the pendant that were attached to the lanyard to remove it.
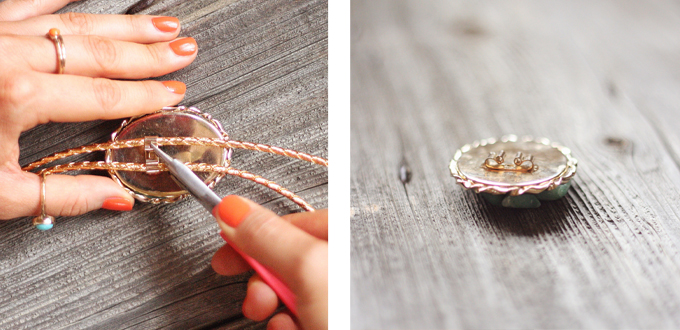
Then, I added O rings to both sides of the metal closure, and clamped the closure down so the O rings would hold.
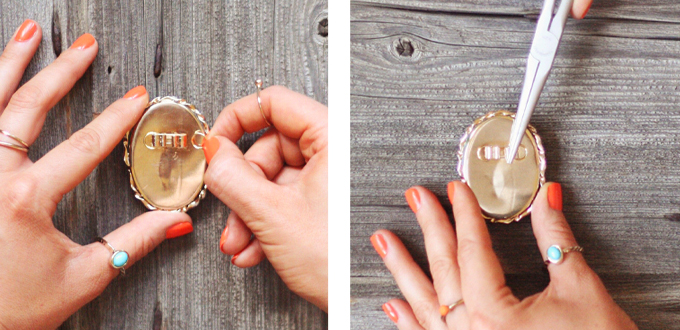
Since the chain was long, I wanted the pendant to sit about 4 inches above the bottom. To anchor the pendant to the break in the chain, I measured an equal distance on both sides of the chain and opened them to add O rings. Then, I fastened to the O rings on the back of the pendant.
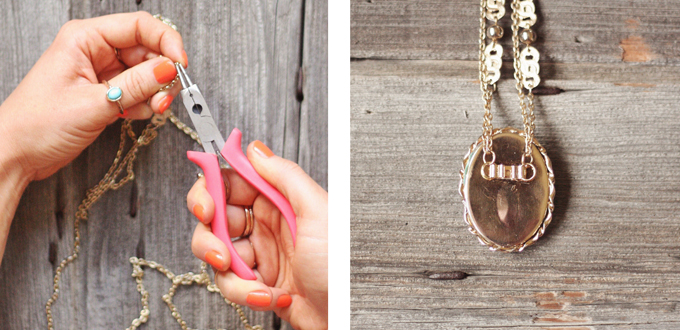
Time to work on the fringe details below the pendant. I opened the remaining chain strands at the bottom to make 2 string of 2 chains. Then, I attached an O ring to each string, and fastened them to the bottom of the O rings on the back of the pendant.
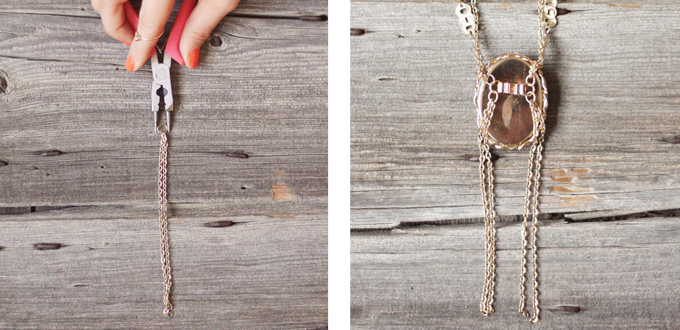
This one was a little more involved, but I love the way it turned out!
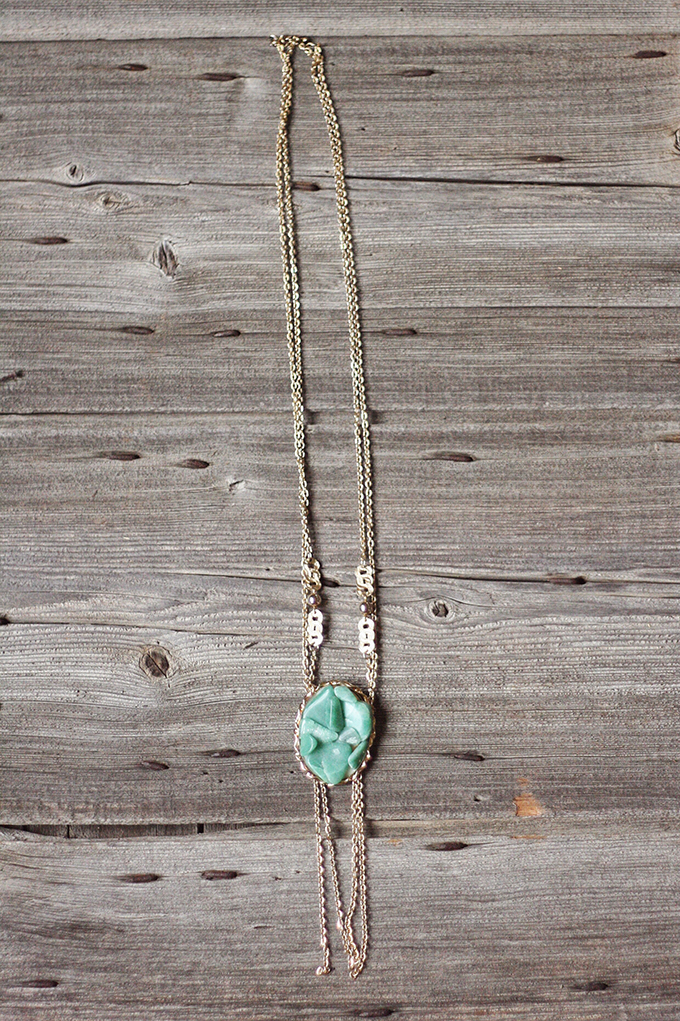
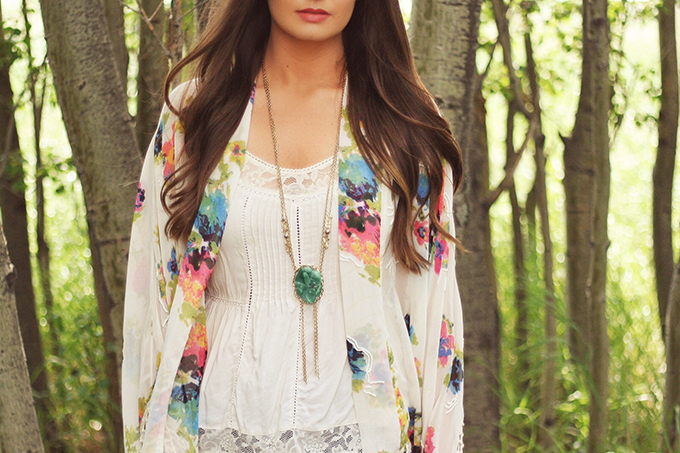
Similar kimono | Similar top | Foundation (shade 105) | Lipgloss
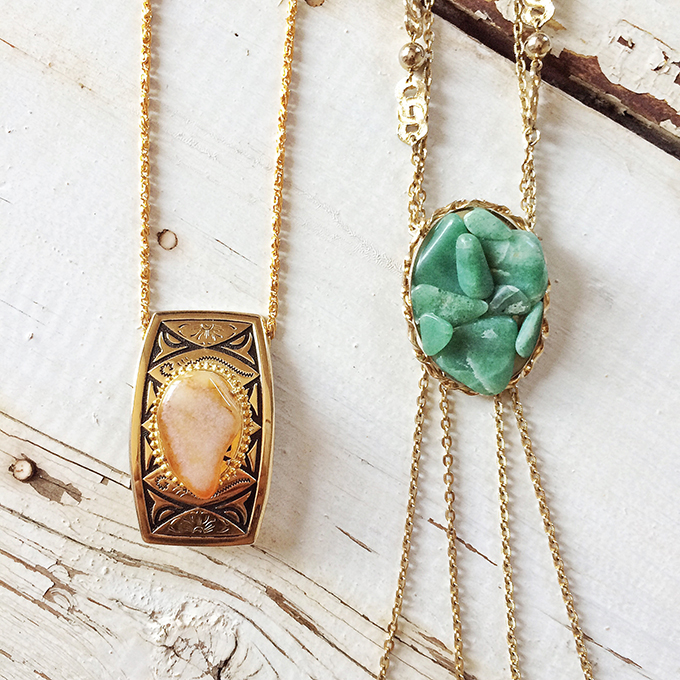
What are your favourite western-inspired pieces? I’ve also been obsessed with all things fringe lately! I hope you enjoyed my DIY necklaces and it’s inspired you to hunt for treasures in your local flea markets. If you try a flea market jewellery DIY let me know!
Disclaimer: This post is not sponsored, and contains my genuine thoughts and recommendations. JustineCelina uses affiliate and referral links, which allow me to receive a small commission when you make a purchase through one of my links. Your purchases help to support JustineCelina.com!

3 Comments
[…] I love the gold fringe details on this large amethyst stone. Long, pendant style necklaces are definitely my thing, and I don’t have anything like this one. It’s delicate and bohemian at the same time. […]
[…] DIY | Vintage Bohemian Necklaces […]
[…] Vintage Bohemian Necklaces […]