Whenever I’m getting ready for a party or event, I have a fail proof routine to ensure my skin looks its best — and today I’ve partnered with Sephora Canada to share it with you! These are my top-shelf, reserve-for-special-occasion products and techniques that I recommend to everyone. My Routine for Flawless Looking Skin is simple, step-by-step guide to help you achieve an extremely long wearing, flawless looking base that you can pair with any makeup look. I use this routine often for during the holidays or anytime I know I’ll be photographed and want to amp up the glam factor!
Today I’m dishing on every product and technique at the core of my special occasion prep. I’ve used this routine on friends and family of all ages and skintones (I’m usually the one helping out with wedding and event makeup!) — so know that its been extensively tested! If you’d like to learn more about how to achieve flawless looking skin this holiday season, I’m covering everything you need to know — from skincare, to makeup products, to sponges and brushes. Gather around my vanity and get ready for a crash course on flawless looking skin!
MY ROUTINE FOR FLAWLESS LOOKING SKIN
With the holiday party season in full swing, I thought it was the perfect time to share My Routine for Flawless Looking Skin! Last weekend, I attended a holiday party and was asked quite a few times about my makeup — I ended up sitting around the table with a group of women and chatting about all things skincare and beauty for the better part of an hour. Feeling like the best, most confident version of yourself is something I’m very passionate about and I love to share my beauty knowledge in hopes that it will help you look and feel your best!
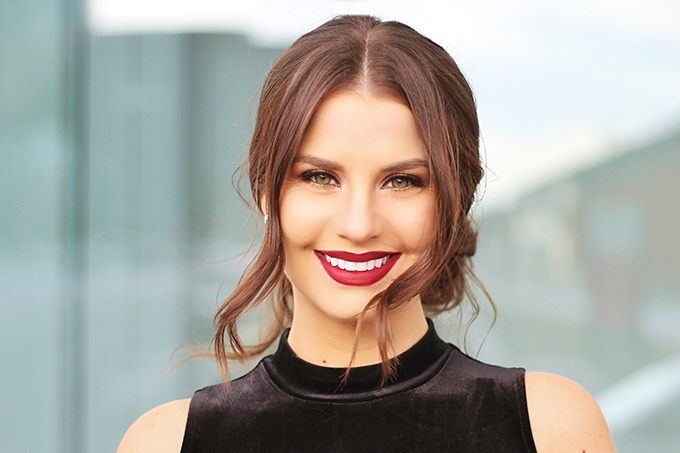
A little disclaimer before we begin — if you’re not used to wearing a full face of makeup, this routine will seem intense. Its not intended for everyday wear, but for those special occasions when you pull out all the stops to look and feel your best. I truly love the process of getting ready, especially when I’m able to take my time and enjoy and the transformative powers that makeup possess. I hope you enjoy learning more about everything I know to achieving a flawless looking complexion!
STEP 1: SKINCARE
If you’ve been reading JustineCelina for any length of time, you know how passionate I am about great skincare. I speak from a place of experience (I used to have horrible skin!) when I say great skin will help you feel more confident and empowered — you won’t feel your best best unless your skin is in check. Truly, the most important step to achieving flawless looking skin is your skincare. After all, you can have the best beauty products money can buy, but a smooth, healthy canvas will allow anything you choose to wear on top of it to look its best.
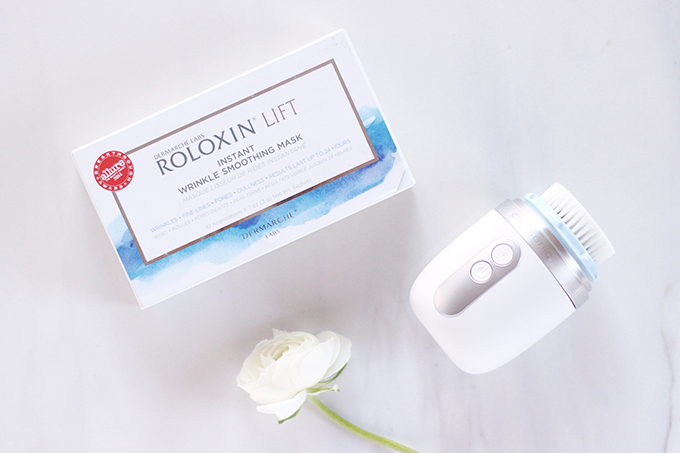
If you’re looking for a crash course on Skincare 101 and My Routine for Happy, Healthy Skin then be sure to hop over to that post. In it, you’ll find the Clarisonic — an indispensable tool at the heart of my skincare routine. I use my Clarisonic with the sensitive brush head every single morning on the lowest setting to physically exfoliate my skin and prepare it for the day. This autumn, I upgraded from my Clarisonic Mia3 Sonic Skin Cleansing System (which I’ve been using consistently for over 2 years) to the Clarisonic Mia Fit. The technology is exactly the same, but the device is more compact, which works better for my lifestyle. If there is one single skincare tool I can recommend to you to transform the texture and tone of your skin, this is it.
While I personally haven’t undergone cosmetic procedures (buy hey, you do you!), I’m all about finding great skincare solutions to help preserve what I have naturally and give me the best skin possible. I like my face to look firm, smooth and lifted — especially for special occasions. I reserve my beloved Dermarche Labs Roloxin Lift Instant Skin Smoothing Masques (designed to mimic the effect of a facelift for 24 hours) when I truly want my visage to look its best! I do notice a visible difference in both lifting and smoothness when I use my Roloxin Lift. These glamorous, individually packaged masks are pricey at $99 for 10, but when you break down cost-per-use for special occasions it’s totally justifiable! You’ll find both of these products in my Luxury Products Worth the Spurge.
STEP 2: PREP & PRIME
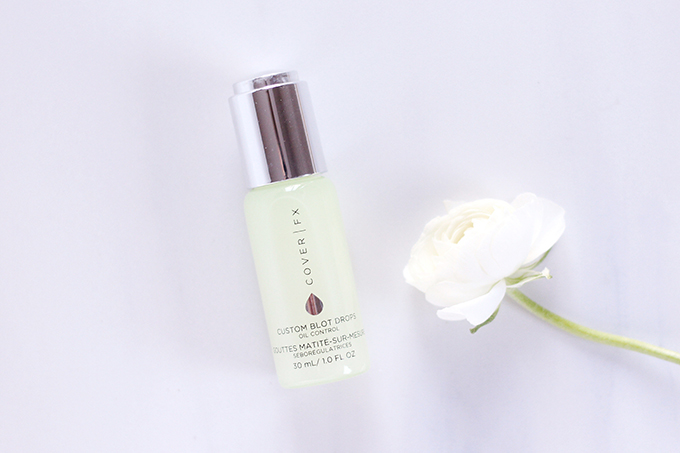
I’m probably one of the only beauty bloggers to ever say that I don’t really think primers are important — for me anyway. My skincare essentially has a primer built into it, so I don’t typically see a noticeable difference when I use traditional primers. However, I have been experimenting with the Cover FX Custom Blot Drops lately when I need my base makeup to be extra long wearing and have seen a noticeable difference in the longevity of my foundation when I use it.
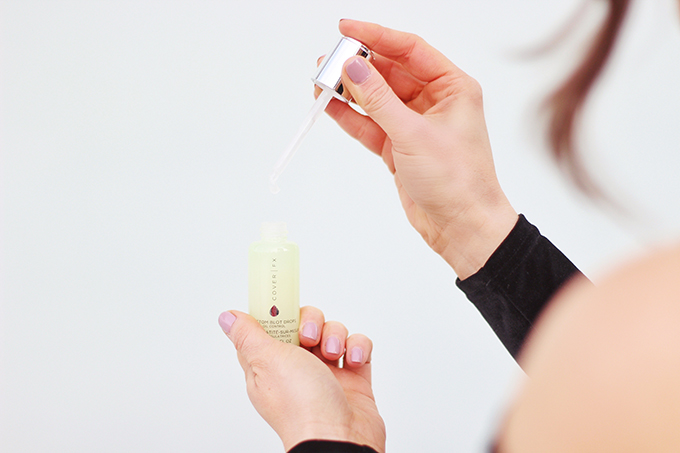
Basically, these innovative drops from Cover FX are meant to mimic the effect of blotting papers (you combo / oily skinned gals know what I’m talking about!) — except I use them before I apply my makeup. I take a small amount of the product and work into into my combination skin ‘problem areas’ (which tend to get oily first) in the centre of my face. My skin instantly feels mattified, smooth and ready for foundation! You can also mix it in with your foundation and use it before or after makeup. I’m excited to play around with it a bit more, but for now it’s become a welcome addition to my flawless looking skin routine.
STEP 3: FOUNDATION
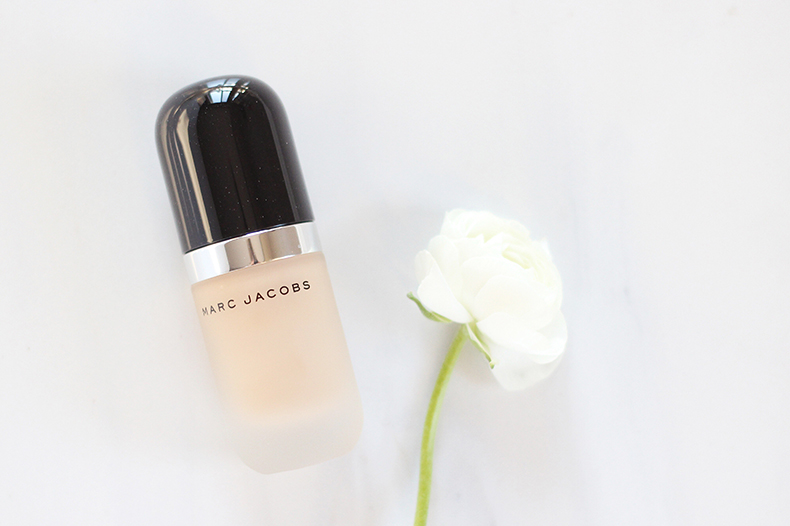
After my skin is prepped and ready for makeup, I apply the Marc Jacobs Beauty Re(marc)able Full Cover Foundation Concentrate. It’s the most expensive foundation I own (I also chatted about it in my Luxury Products Worth the Spurge post) — it’s also my go-to for special occasions or anytime I want my skin to look super flawless! Its ideal for special occasions because it photographs very well — it doesn’t contain any SPF, which can cause a white cast in flash photography. This beautiful foundation provides a healthy looking, demi matte finish that holds up all day on my combination skin — especially when set with the Laura Mercier Translucent Loose Setting Powder I’ll be mentioning in STEP 5.
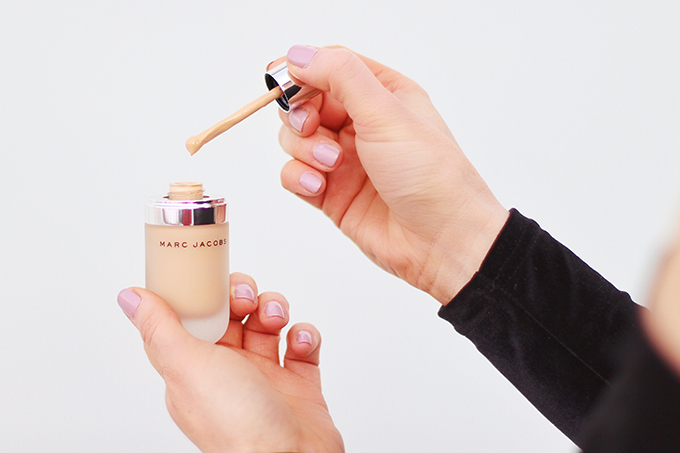
The Re(marc)able Full Cover Foundation Concentrate is definitely the fullest coverage foundation I’ve ever used — when they instruct you to use 4 dots for your full face, they mean it! Therefore, you can imagine how long this bottle lasts. I apply a dot to my forehead, a dot to my chin and one to each cheek and work it into my skin with my fingers (which is how I prefer to apply foundation in general, but the heat of your fingertips helps to melt the foundation into the skin especially well). 4 dots of this concentrated product gives me a natural full coverage, without looking cakey. However, if you prefer to apply your foundation with a tool, the beautyblender also works well.
P.S. — I found my perfect colour match in Bisque Neutral 27 — which Marc Jacobs Beauty describes as fair with yellow undertones. If you’re curious I’m a MAC NC 25 – 30, but I’ll always leave more information about my skin type and foundation shades at the bottom of a post where I chat about foundations.
STEP 4: CONCEAL & HIGHLIGHT
You don’t even want to know how many concealers I’ve tried in the last 2 years since I first began using It Cosmetics Bye Bye Under Eye. Let me save you the trouble — this is the best concealer I’ve ever tried at any price point! This is a super thick, creamy, salmon-toned, full coverage concealer — a little bit of this goes a long way. It also needs to be set immediately or it will slide around and crease on you, but I truly think I’ve found the holy grail when it comes to the undereye area and haven’t switched these products up for almost 2 years — in fact, I included them both in some of my very first Monthly Beauty Favourites posts. I’ve also used this concealer set with the Tarte Smooth Operator Amazonian Clay Finishing Powder (which I’ll be mentioning below in STEP 5) on women aged 20 – 75, and everyone can’t believe how totally smooth and airbrushed this combination makes their undereye area look!
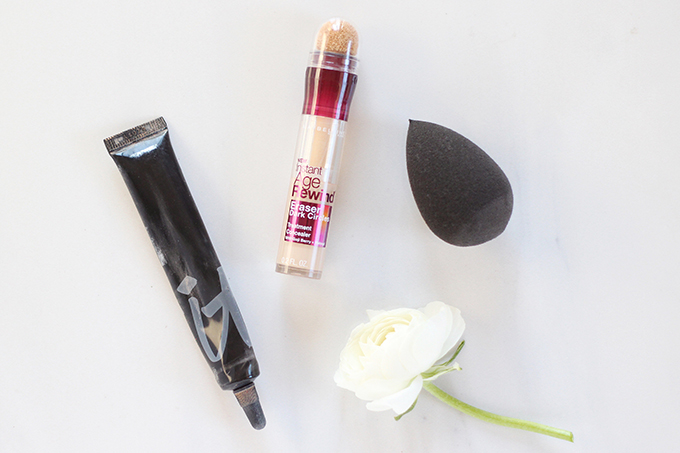
First, I squeeze a very small amount out onto my fingers, then dot it directly under my eyes (where I experience the most discolouration) and onto my eyelids to prime them, then blend it out with my trusty, damp beautyblender. I wear the shade Neutral Medium, which they says will suit most skintones. I find that since it’s slightly salmon toned it also acts as a corrector to counteract blue and purple hues around the eyes.
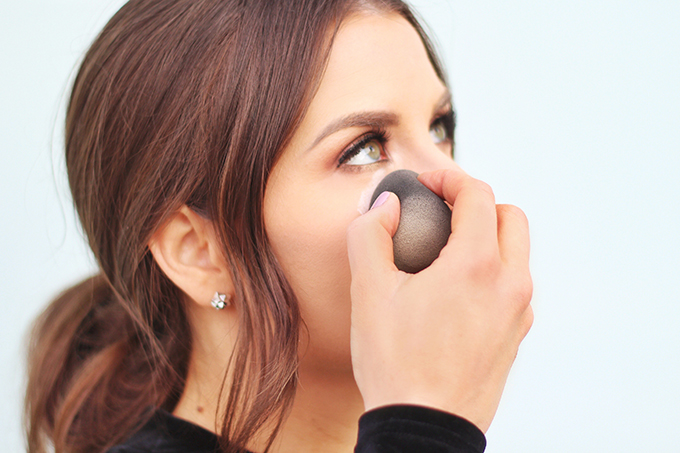
After I’ve concealed, I move onto highlighting my face with the Maybelline Instant Age Rewind Concealer in Neutralizer. I love everything about this concealer that I use as a highlighter. It’s lightweight, brightening and I like the applicator as well. I use the shade Neutrailzer (which is a yellow-based shade much lighter than my skintone) to under my eyes in an inverted ‘V’ shape to brighten things up for a lifted, awake look. Then, I use it to highlight other areas of my face when I’m doing more intense contouring and highlighting; the centre on my chin, top of my lip, centre of my nose and forehead. Again, I blend it into my skin with a damp beauty beautyblender for a seamless finish. This concealer is very blendable and works with every foundation I’ve tried it with.
STEP 5: POWDER & SET
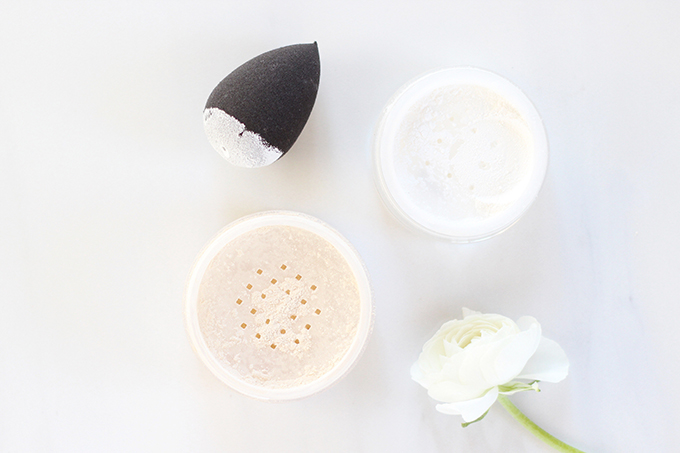
After my concealer and highlighter is applied, I use two powders to set my face when I’m going all out for special occasions. Although it may seem a bit high maintenance, I prefer each powder on a specific area of my face for different reasons — let me explain why!
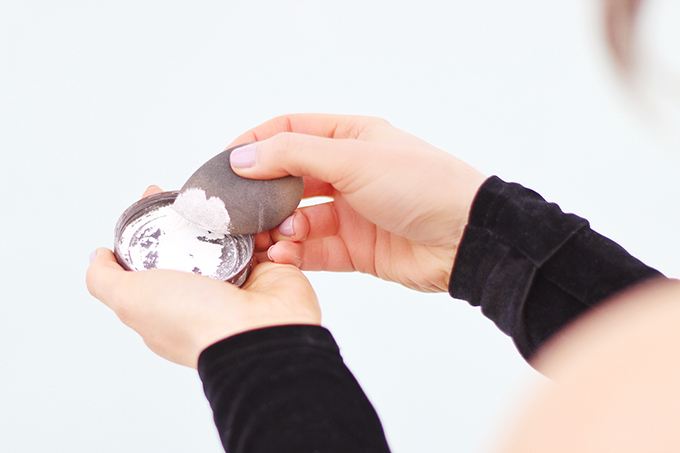
First, I start with my undereye and highlighted areas. The Tarte Smooth Operator Amazonian Clay Finishing Powder is the best loose setting powder for the under eye area that I’ve ever tried! It really does make your skin look totally smooth and airbrushed — and I’ve been using it religiously for almost 2 years. My favourite way to use to set my under eye concealer is with a damp beautyblender. It’s a perfect match with the It CosmeticsBye Bye Under Eye and I’ve gone through quite a few jars of it! To apply it to my undereye and highlighted areas, I simply shake some powder out into the jar cap, then dab the pointed end of beautyblender into the powder and then bounce it under my eyes to set the concealer — it doesn’t budge all day. Personally, I’m not into the whole baking trend (our Alberta climate is way too dry for that!) and don’t apply enough powder that there’s any visibly left on top of the skin, just enough to set my concealer.
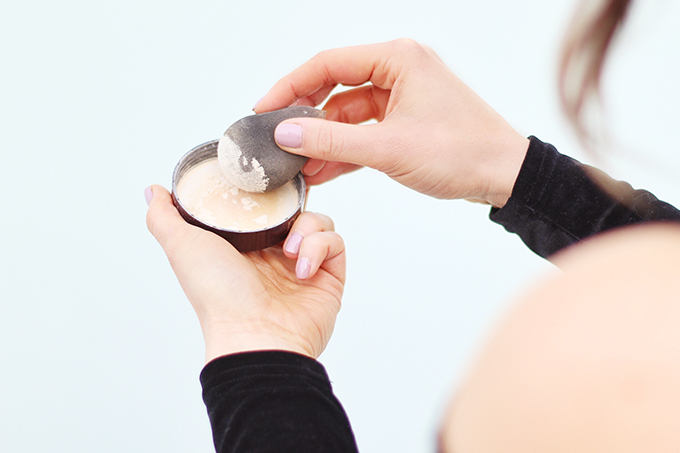
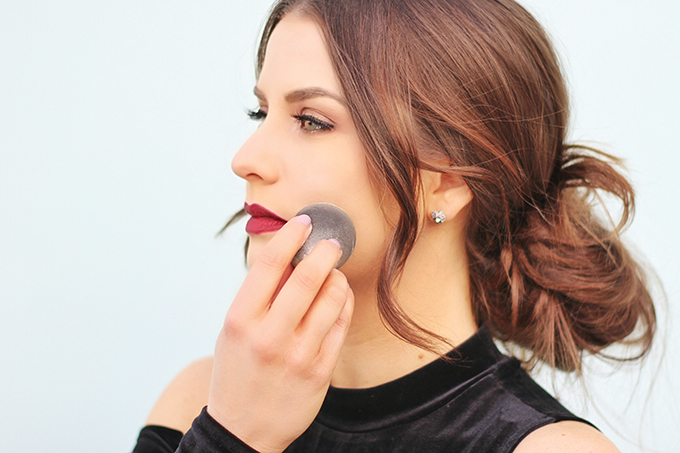
While I don’t like the Laura Mercier Translucent Loose Setting Powder under my eyes (it’s a bit too drying and not as silky smooth!), I love it to set my face makeup. Combo / oily skinned gals, if you’re never used a damp beautyblender with loose powder to set your face makeup, you’re truly missing out! I use the rounded end of my damp beautyblender coated with the powder and press it into the non-highlighted areas of my face to set them. Using the Laura Mercier Translucent Loose Setting Powder with the Marc Jacobs Beauty Re(marc)able Full Cover Foundation Concentrate does an amazing job at keeping me looking perfected and matte throughout the day — and it’s also undetectable on the skin.
STEP 6: ADD DIMENSION
Since our face is now essentially a blank canvas and we’ve erased most of the natural shadows, pigmentation and shine — it’s time to add it all back! I know if may seem counter intuitive, but I love the control of adding or intensifying shadows, warmth, colour and glow where I want it, rather than where it may appear naturally on my face.
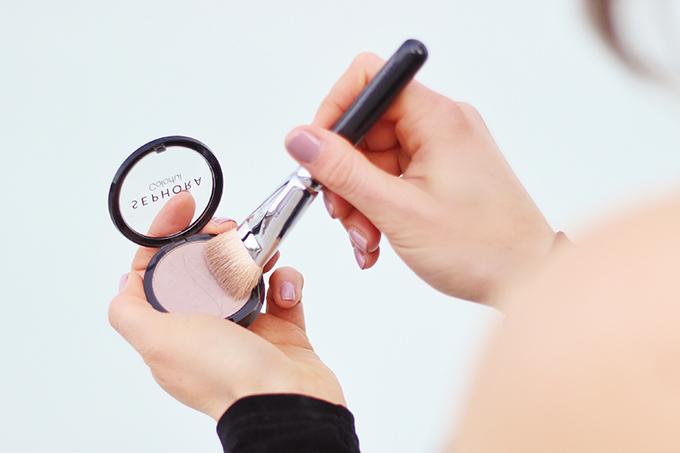
The first thing I like to do to add dimension and shadow back into my skin is to use the SEPHORA COLLECTION Colorful Face Powders in 26 Tranquil to contour. I discovered this product back in November — it’s a very cool, grey-toned powder and the most effective product I’ve ever used to mimic the look of natural shadows on the skin. I use it underneath my cheekbones, jawline, bottom lip and along the sides of my nose to add some definition with an angular brush. If you’d like to learn more about my favourite makeup brushes, be sure to check out my Makeup Brush 101 post!
After I’ve added some basic structure back into my face, I like to warm things up with a light dusting of bronzer in a ‘3’ shape around the perimeter of my face. Lately, my go-tos have been the Hourglass Ambient Lighting Bronzers to add a natural, glowing warmth to my complexion.
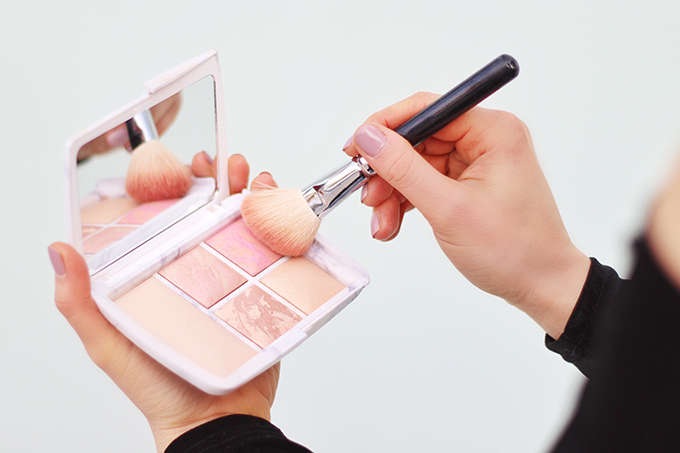
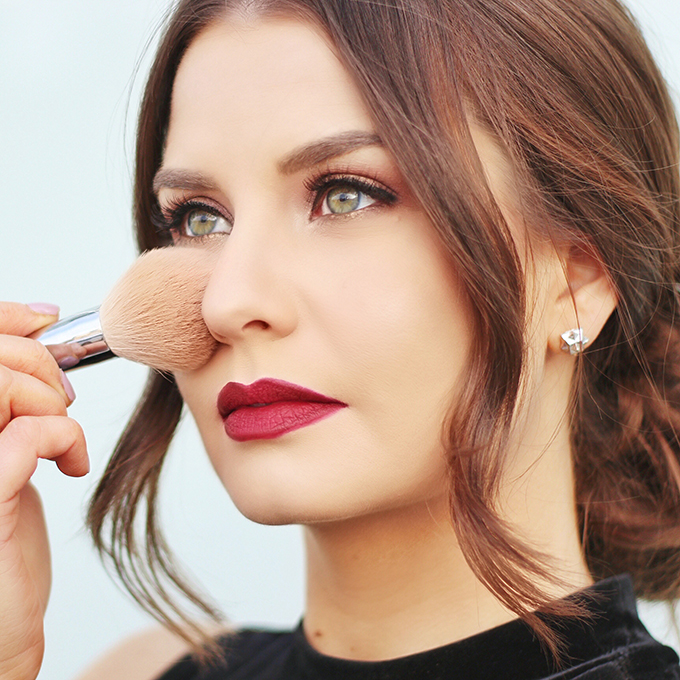
Lastly, I like to go in with blush and highlight to finish things off. Some longtime favourite blushes of mine include the Hourglass Ambient Lighting Blushes (try them out in the Hourglass Ambient Lighting Edit – Surreal Light palette, pictured above) or the BECCA Mineral Blushes. After I have a healthy flush back in my cheeks, I apply a dusting of powder highlight to the tops of my cheekbones, cupid’s bow and tip of my nose to impart a subtle glow. My all-time favourite highlighters are the Becca Shimmering Skin Perfectors and Hourglass Ambient Lighting Powders — which you’ve seen here at JustineCelina often!
STEP 6: FINISHING
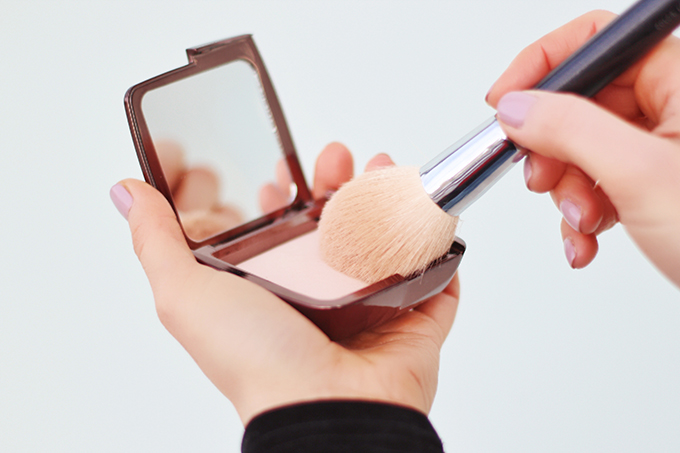
After I’ve added some life back into my complexion, I use my trusty Hourglass Ambient Lighting Powder in Dim Light on a big, fluffy brush to swirl everything together and make it look blended and cohesive. I also use it to knock off any excess loose powder I have lingering under my eyes or in other areas on my face from STEP 5.
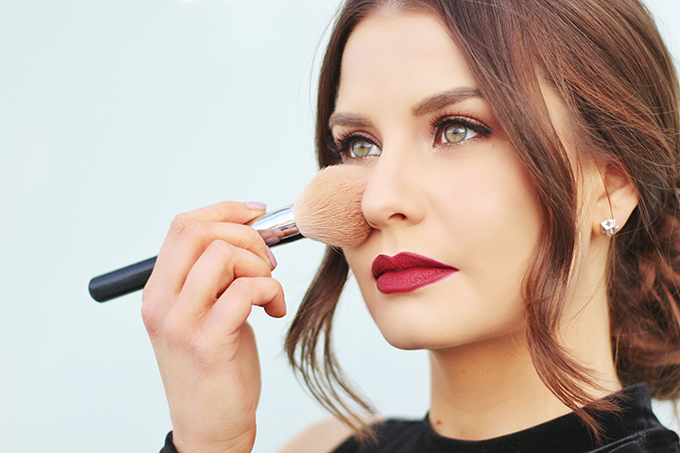
This luxurious finishing powder became indispensable to me this year. You may remember me raving about it in my September Beauty Favourites and mentioning Hourglass powders many times before that! It’s an ultra smooth finishing powder that captures, diffuse, and soften the way light reflects on skin. It seriously makes you look airbrushed in real life (I’ve received that comment on more than a few occasions) and gives the skin a soft focus effect. This is a product I never skip — even in my daily routine! I also mentioned it in my Luxury Products Worth the Splurge post and truly believe there’s nothing else like it on the market at any price point.
STEP 7: LOCK IT IN
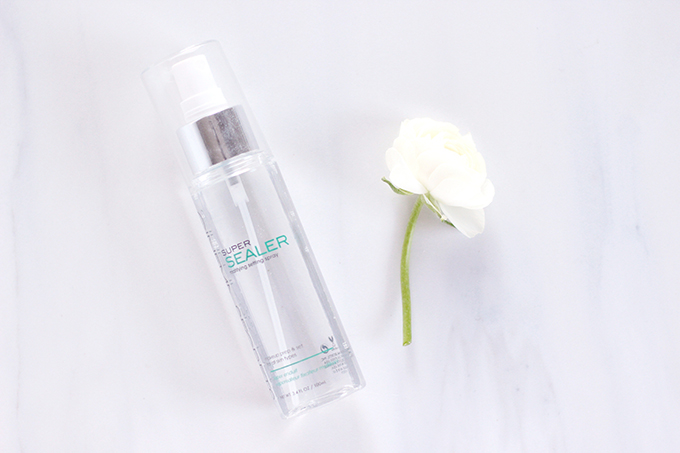
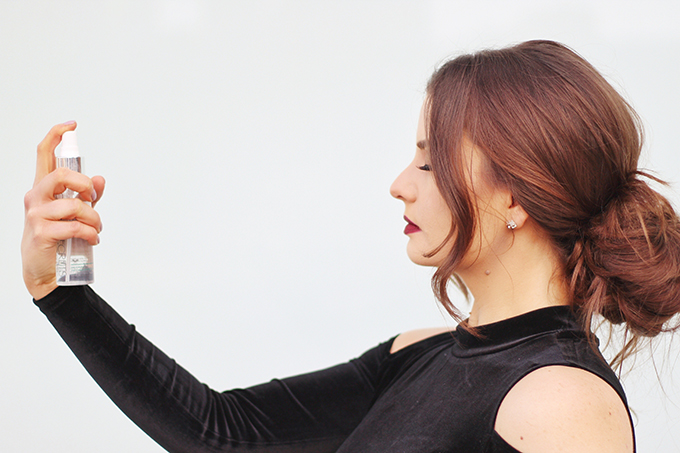
For our final step, it’s time to seal our work into place to ensure the longest wear possible! The Cinema Secrets Super Sealer Mattifying Setting Spray is a truly amazing makeup setting spray that also doubles as a primer — think of it like hairspray for your face (but in a non-sticky, gross way). I simply coat my face in a fine mist of spray and allow it to set — and boy, does it ever. In fact, this stuff sets your makeup to an almost waterproof state and was designed to be used in humid climates and under theatrical lights — so it’s definitely not for everyday use, but it’s perfect for special occasions! It works beautifully to keep my makeup looking fresh and relatively shine free throughout the day while prolonging its wear.
ABOUT MY SKIN
Skin Type
Combination, sensitive, acne prone. I only use fragrance free skincare products.
Skin Tone
Light / medium with yellow-warm undertones | MAC NC 25 – 30
Foundation Shade Comparisons
Best match: Marc Jacobs Beauty Re(marc)able Full Cover Foundation Concentrate in Bisque Neutral 27
Estee Lauder Double Wear Stay-in-Place Makeup | 2W2 Rattan
tarte Rainforest of the Sea™ Water Foundation in Light-Medium Neutral
Makeup Forever Matt Velvet + Mattifying Foundation | 40 Natural Beige
COVER FX Custom Cover Drops in G20 to lighten foundations
I’M ALSO WEARING
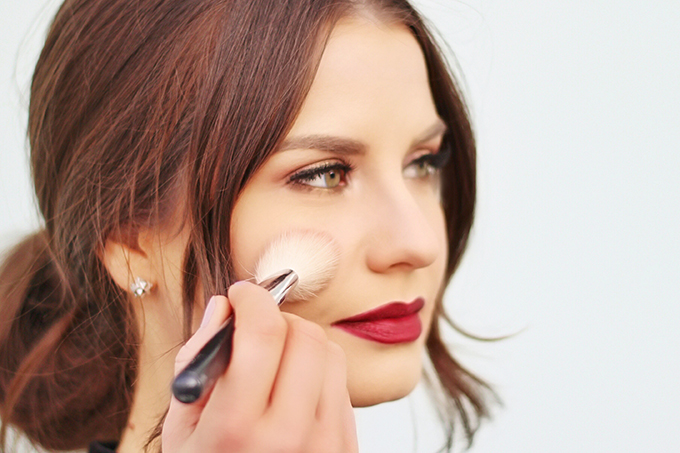
Huda Beauty Liquid Matte Lipstick in Famous | Marc Jacobs Beauty About Last Night Style Eye Con No. 20 Eyeshadow Palette | Kat Von D Tattoo Liner in Trooper | Diorshow Iconic Overcurl Mascara | Anastasia Beverly Hills DIPBROW Pomade in Dark Brown
I hope you found My Routine for Flawless Looking Skin helpful! Believe it or not, when you work in light layers with lots of blending, this doesn’t look like a lot of obvious makeup in person — just a more perfected, sculpted and defined version of my face (or someone else’s face!), which is always my goal. If you pick up any of my favourite flawless complexion products, I’d love it if you left me a comment letting me know how they worked out for you. I hope you all have a fun and joyous holiday season — complete with flawless looking skin!
Disclaimer: Thank you to Sephora Canada for sponsoring this post. JustineCelina uses affiliate and referral links, which allow me to receive a small commission when you make a purchase through one of my links. Thank you for supporting the brands and businesses that support JustineCelina.com!


14 Comments
Wonderful collection! I’ve been a fan of Sephora’s since their first store arrived in Calgary. Good stuff!
Thanks, Wanda! I’m always happy to pass along tips and tricks I’ve learned and the products that work for me. 🙂 I’m always here if you have any beauty questions — have a great weekend!
[…] it took me 2 full years to use up my original tube (check it out in it’s sorry state back in My Routine for Flawless Looking Skin!). This concealer needs to be set immediately or it will slide around and crease on you, but I […]
[…] Mercier Translucent Loose Setting Powder I used to previously set my foundation (read more about my routine for flawless looking skin) — so that’s a win in my books! Basically, it’s a simple loose powder […]
[…] reading this post you’re familiar with the beautyblender — and if not, I’ll link a post where I explain how I use this magical, egg shaped sponge in my daily makeup routine. I’ve […]
[…] February when they sent it over for try out after reading my Luxury Products Worth the Splurge and My Routine for Flawless Looking Skin […]
[…] My Routine for Flawless Looking Skin […]
[…] and use it before or after makeup. It’s a another long time favourite of mine (check out My Routine for Flawless Looking Skin for an in-depth explanation of how I achieve a perfected base) and a product I’ll always have […]
[…] to Try This Holiday Season (who did me proud and wore red lipstick on Christmas Day?!) and My Routine for Flawless Looking Skin. I didn’t have much time to test other products, so most of my December Favourites are […]
[…] My Routine for Flawless Looking Skin […]
[…] My Routine for Flawless Looking Skin […]
[…] continued to practically bathe in Colourpop Super Shock Highlighters, rediscovered my love for an innovative mattifying product and found an incredible, inexpensive nude eyeliner that makes my eyes look bright and awake (trust […]
[…] My Routine for Flawless Looking Skin […]
[…] My Routine for Flawless Looking Skin […]